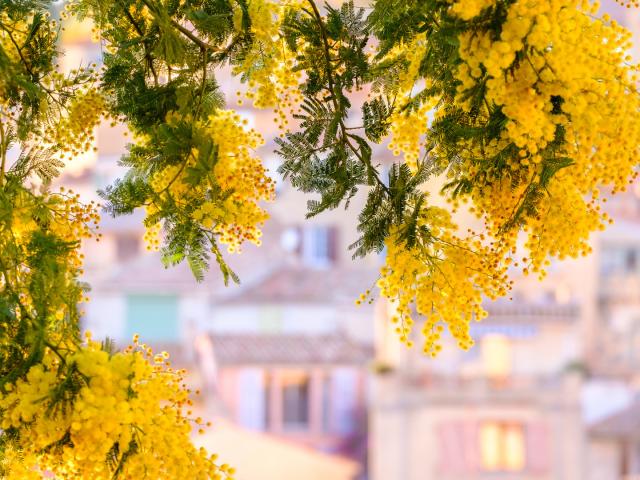
Branch of mimosa in bloom and blue sky in Provence-Alpes-Côte d'AzurMimosa in Provence-Alpes-Côte d'Azur
©Mimosa in Provence-Alpes-Côte d'Azur|ACelindano

DIY crafts: mimosa, mimosa everywhere!

Its yellow blooms light up the natural landscapes of Provence and the Côte d’Azur between January and March as if to herald the coming spring. It brightens up our homes and our hearts with its gracious allure and delicate perfume. Discover our DIY mimosa craft ideas!

Make your own mimosa cyanotype print

From yellow to Prussian blue

There’s nothing like a homemade cyanotype print if you want to capture the silhouette of a mimosa branch and create an original decoration. With its delicate leaves and many blooms, mimosa is ideal for this ultra-trendy technique that is generally well-suited to plants. But let’s start at the beginning: what is a cyanotype print? This monochromatic photographic technique was born in England in the mid-19th century. All you need is a sheet of paper (the kind used for watercolour painting), sunlight and two chemicals – ferric ammonium citrate and potassium ferrocyanide -, to obtain a superb Prussian blue print. Fear not: the ingredients and instructions for using them are very easy to find in craft shops.
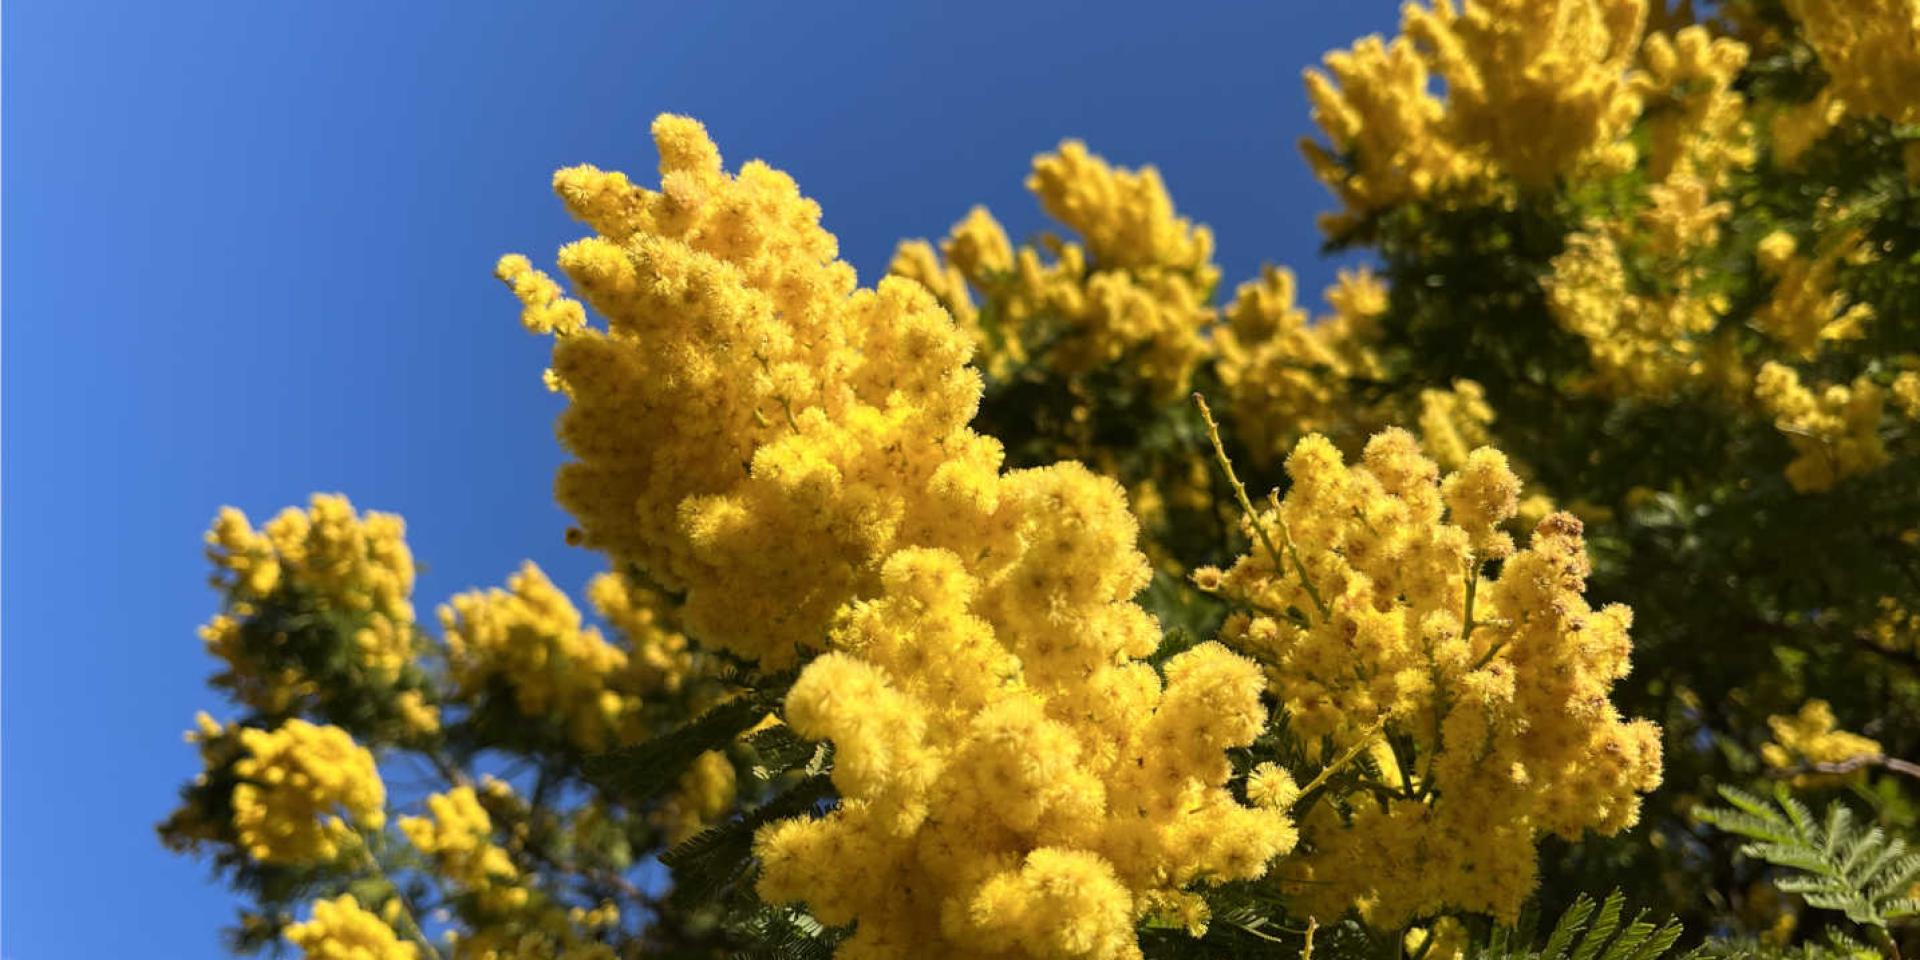
More mimosa…

In a flower garland!

To beckon spring into your home with this beautiful garland of fresh mimosa, you’ll need:

  • A large bunch of mimosa
  • A metal hoop (for example from an old lampshade) for the frame
  • A piece of ribbon
  • Floral tape for flower arrangements

How to make a mimosa flower garland?

  • Attach the ribbon to the metal hoop so that you can hang it up when it’s finished.
  • Separate the mimosa into around twenty small bunches of different sizes (adapt the number according to the size of your frame).
  • Arrange the little bunches around the hoop as desired (without attaching them).
  • Once you are happy with the result, secure them using the floral tape.

We love mimosa so much we want to frame it!

Pressed flowers

To make the most of your mimosa all year round, whatever the weather, you can press it and frame it either on its own or with other flowers or plants. The principle is simple: all you have to do is dry the flowers; you can then keep them for several years. How is it done?

  • Cut a sprig of mimosa, ensuring it is not damp.
  • Place it in the desired position on a sheet of thick paper or cardboard.
  • Place the sheet of paper between the pages of a heavy book, e.g. a dictionary. Place other books on top to ensure the flowers are properly pressed. You can also use a wooden flower press – you can buy one or make it yourself (you’ll find lots of easy tutorials online).
  • Wait for 2-3 weeks. You can then remove the pressed mimosa delicately or leave it on the paper and frame your creation.

The scent of the South of France

A mimosa potpourri

Mimosa isn’t just nice to look at! It also exudes a very sweet perfume ideal as a home fragrance. To enhance its scent even more, it can be combined with other flowers (rose, lemon blossom, orange blossom, hibiscus, lilac, violet, etc.), spices (vanilla, star anise, clove, cardamom, etc.) and fruit (orange, lemon, grapefruit, apple, etc.).

  • Start by selecting your flowers, spices and fruit, and a suitable container (saucer, jam pot, bowl, etc.).
  • Place the flowers and fruit (cut into thin slices) on a baking tray and cook for a good hour at 140°C until they are completely dried.
  • Arrange the flowers, fruit and spices in the container. Add a couple of drops of lavender essential oil if desired.
Close